Basic Photovoltaic (PV) Module Testing
 The best, quickest, and easiest way to test a solar module is to check both the open circuit voltage (Voc) and short circuit current (Isc).
Depending on the reason for testing; the test can be done:
- at the controller
- at the combiner box (if present)
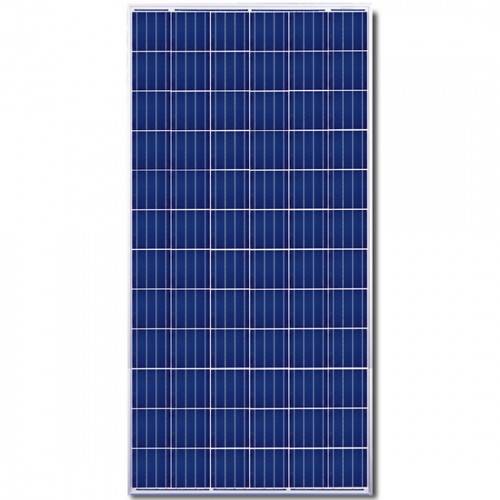
- at the solar module
- can also be done on a string (2 or more modules wired in series)
The test needs to be performed with the module(s) isolated from the rest of the system, and is best done in full sunlight conditions. For this reason, having an array disconnect for maintenance and troubleshooting purposes can be advantageous, otherwise the array wires will need to be disconnected from the system.
Getting Started
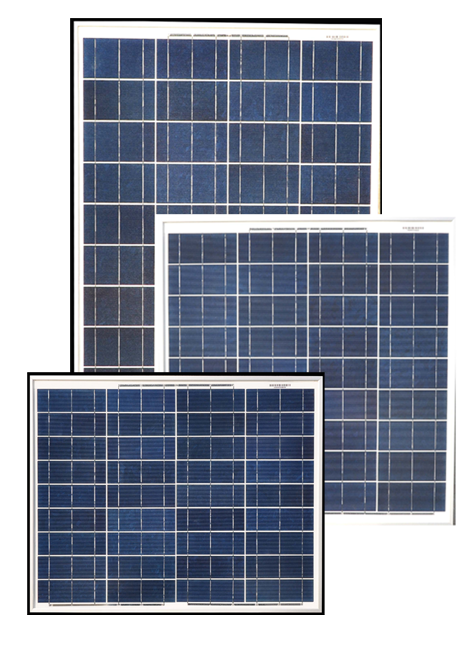
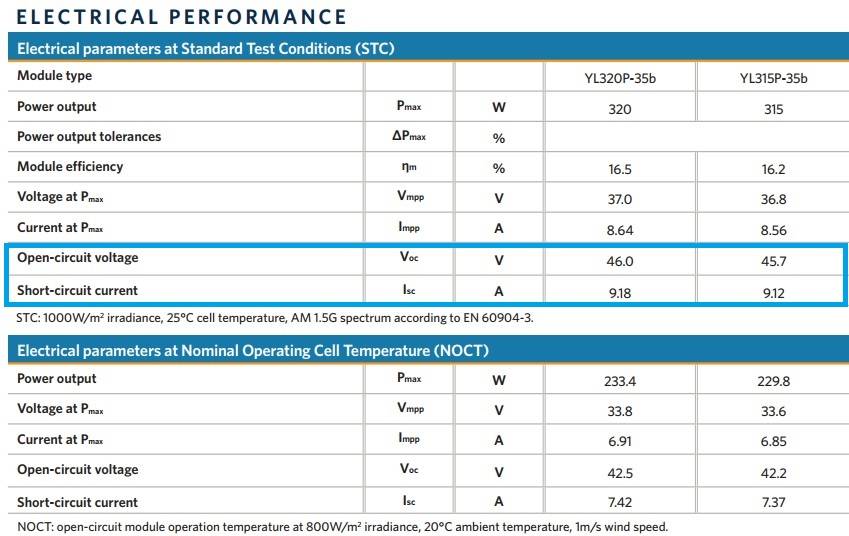
The first thing we’ll need before we get started is the manufacturer’s data sheet for the module we’d like to test and a multi-meter capable of reading DC Voltage and Current! This information is important as it will give us the electrical specifications that we’ll be using to validate whether the module is working properly or not.
Specifically, we’re looking for the values for Open-Circuit Voltage (Voc) and Short-Circuit Current (Isc) for the specific rating of module. The purpose of our test is to determine whether the module is working, not if it’s performing to factory specifications. Therefore, values from either the Standard Test Conditions (STC) table, or Nominal Operating Cell Temperature (NOCT) table should work.
Open-Circuit Voltage (Voc) Test
To perform the Voc Test, simply measure the voltage between the positive and negative terminals. This voltage should be within ~10% of the rating on the data sheet under most sunlight conditions.
Testing at Controller
• Reverse polarity
• Wiring open/short circuit
• Incorrect array wiring
Testing at Combiner Box
• Reverse polarity
• Wiring open/short circuit
• Incorrect array wiring
Testing at Module
• Failed bypass diode
• Incorrect/Loose wiring
• Failed module
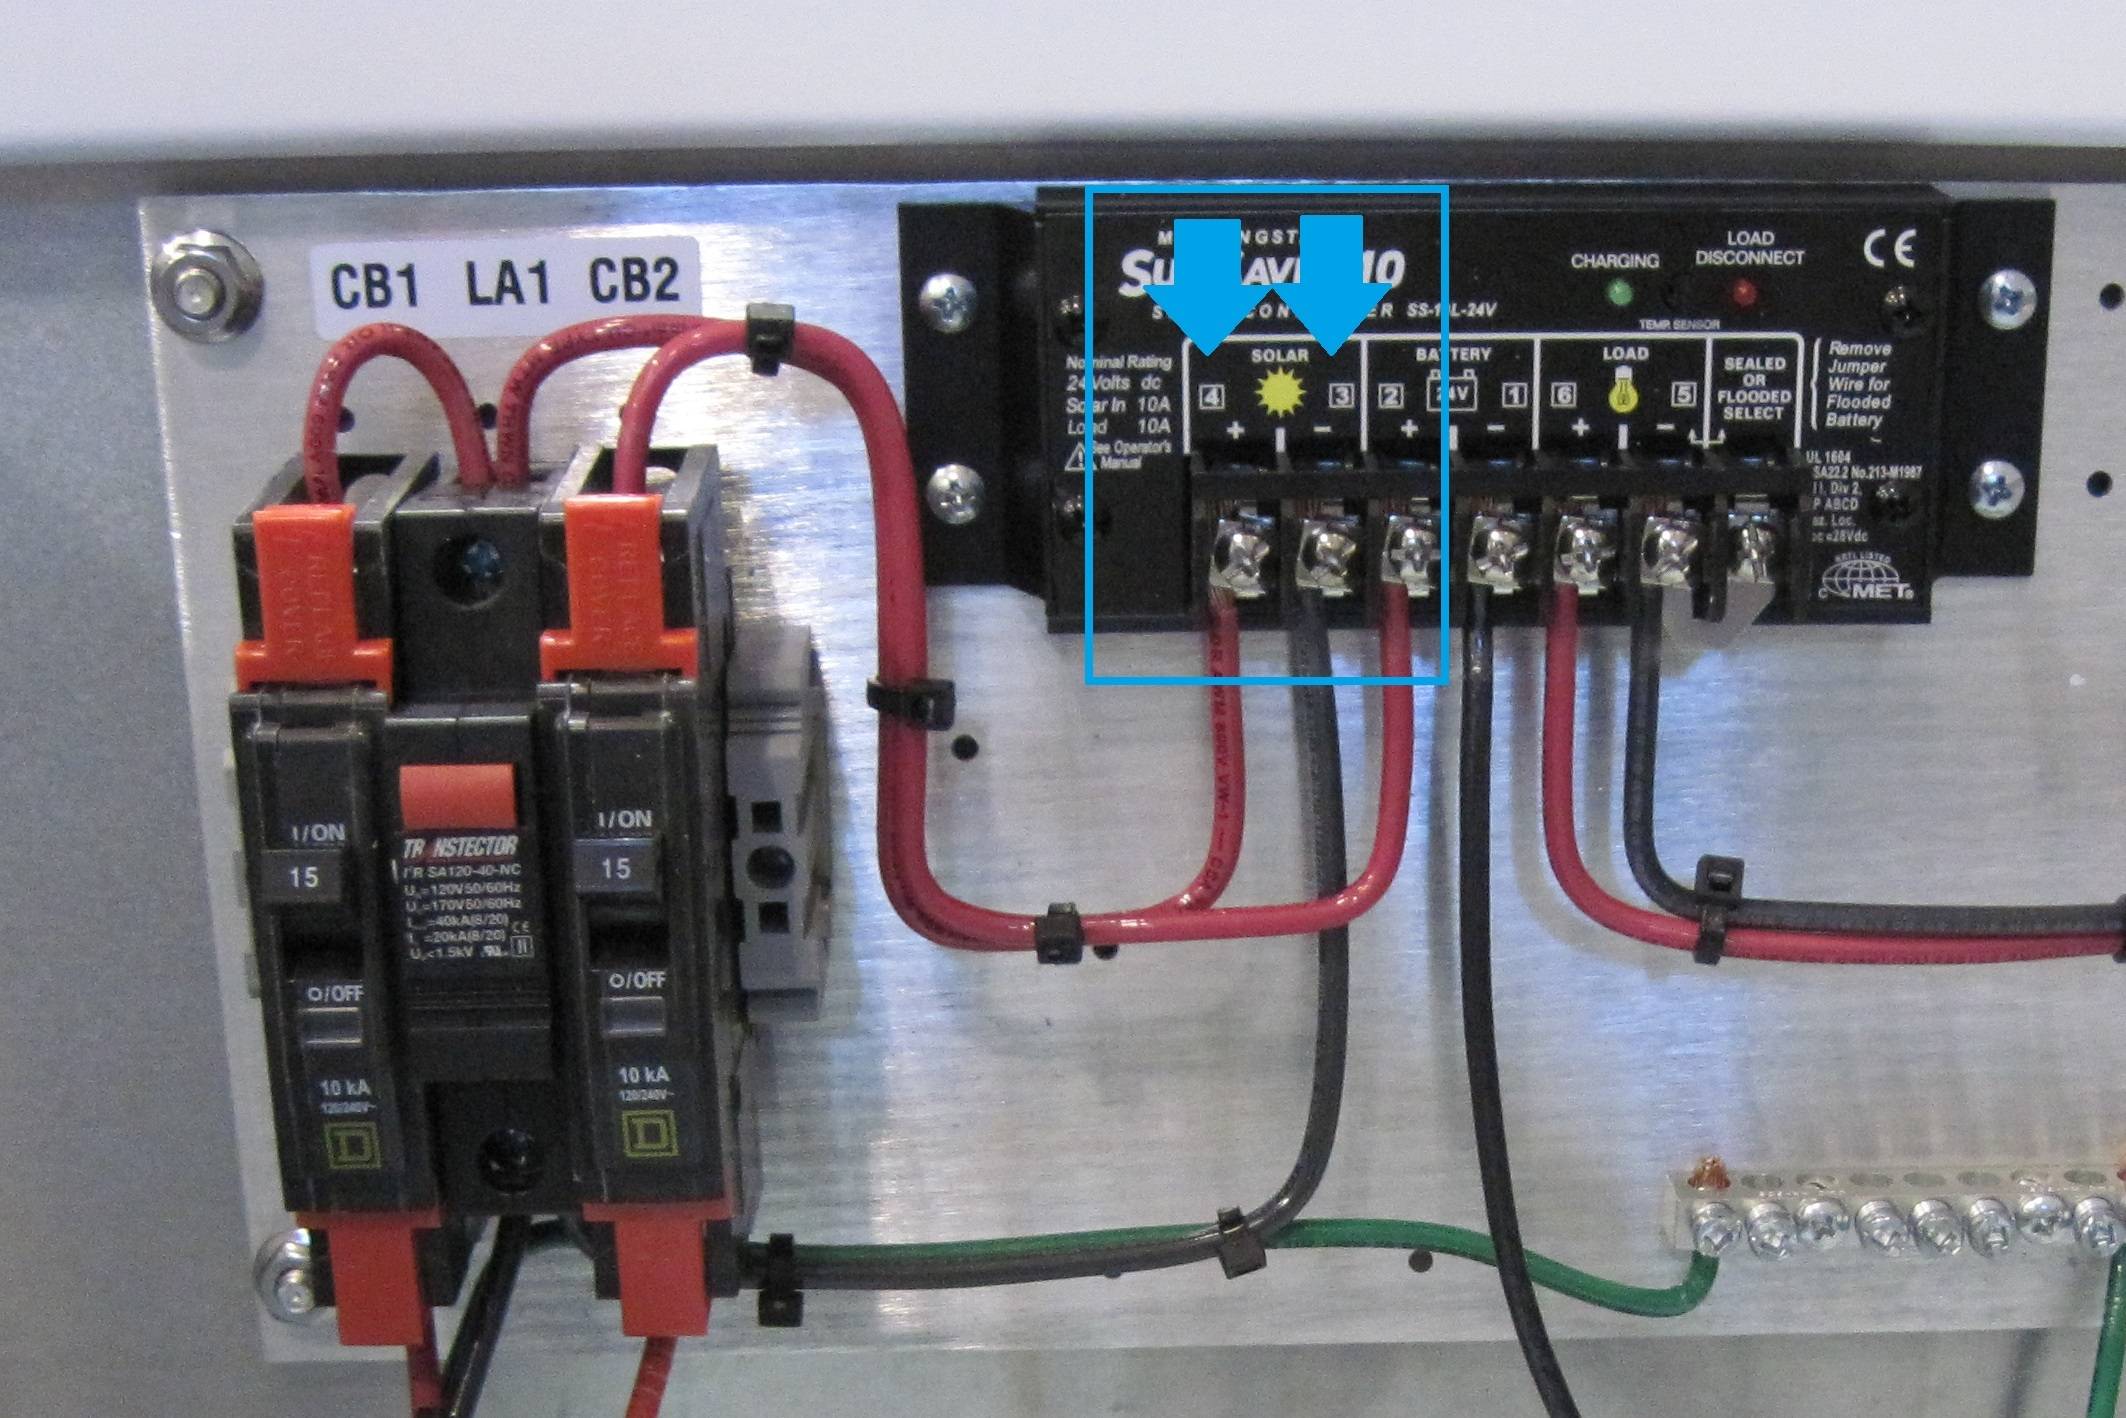
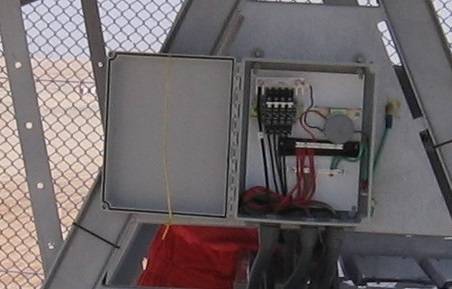
Testing Voc at Controller or Combiner Box (if present)
Reverse Polarity
Sign: A negative voltage number would indicate a reverse polarity of the wiring.
Cause: Positive and Negative wiring leads are reversed between Module, Controller, or Combiner Box (if present).
Solution: Reverse plus and minus on wiring between each connection point for correct polarity reading. Re-test to confirm correct polarity after changing.
Wiring Open/Short Circuit
Sign: A voltage number near zero would indicate either an open circuit in the wiring or a short circuit in the wiring.
Cause: Bad or loose connections within module junction box, or between module, combiner box (if present), or charge controller.
Solution: Trace wires to find open or short circuit.
Correct problem (tighten or repairing wire) between bad connection points.
Incorrect Array Wiring
 Sign: A voltage number that is higher or lower than expected.
Cause: Too many modules wired together in series will result in a Voc number that is too high. Too few modules wired in series will result in a Voc number that is too low. Remember to add the Voc values together for as many modules as you have wired in series (see ohm’s power law)!
Solution: Check system design and voltage drop calculations to verify enough voltage is passing through from the array to the controller or combiner box and that the voltage matches expected values.
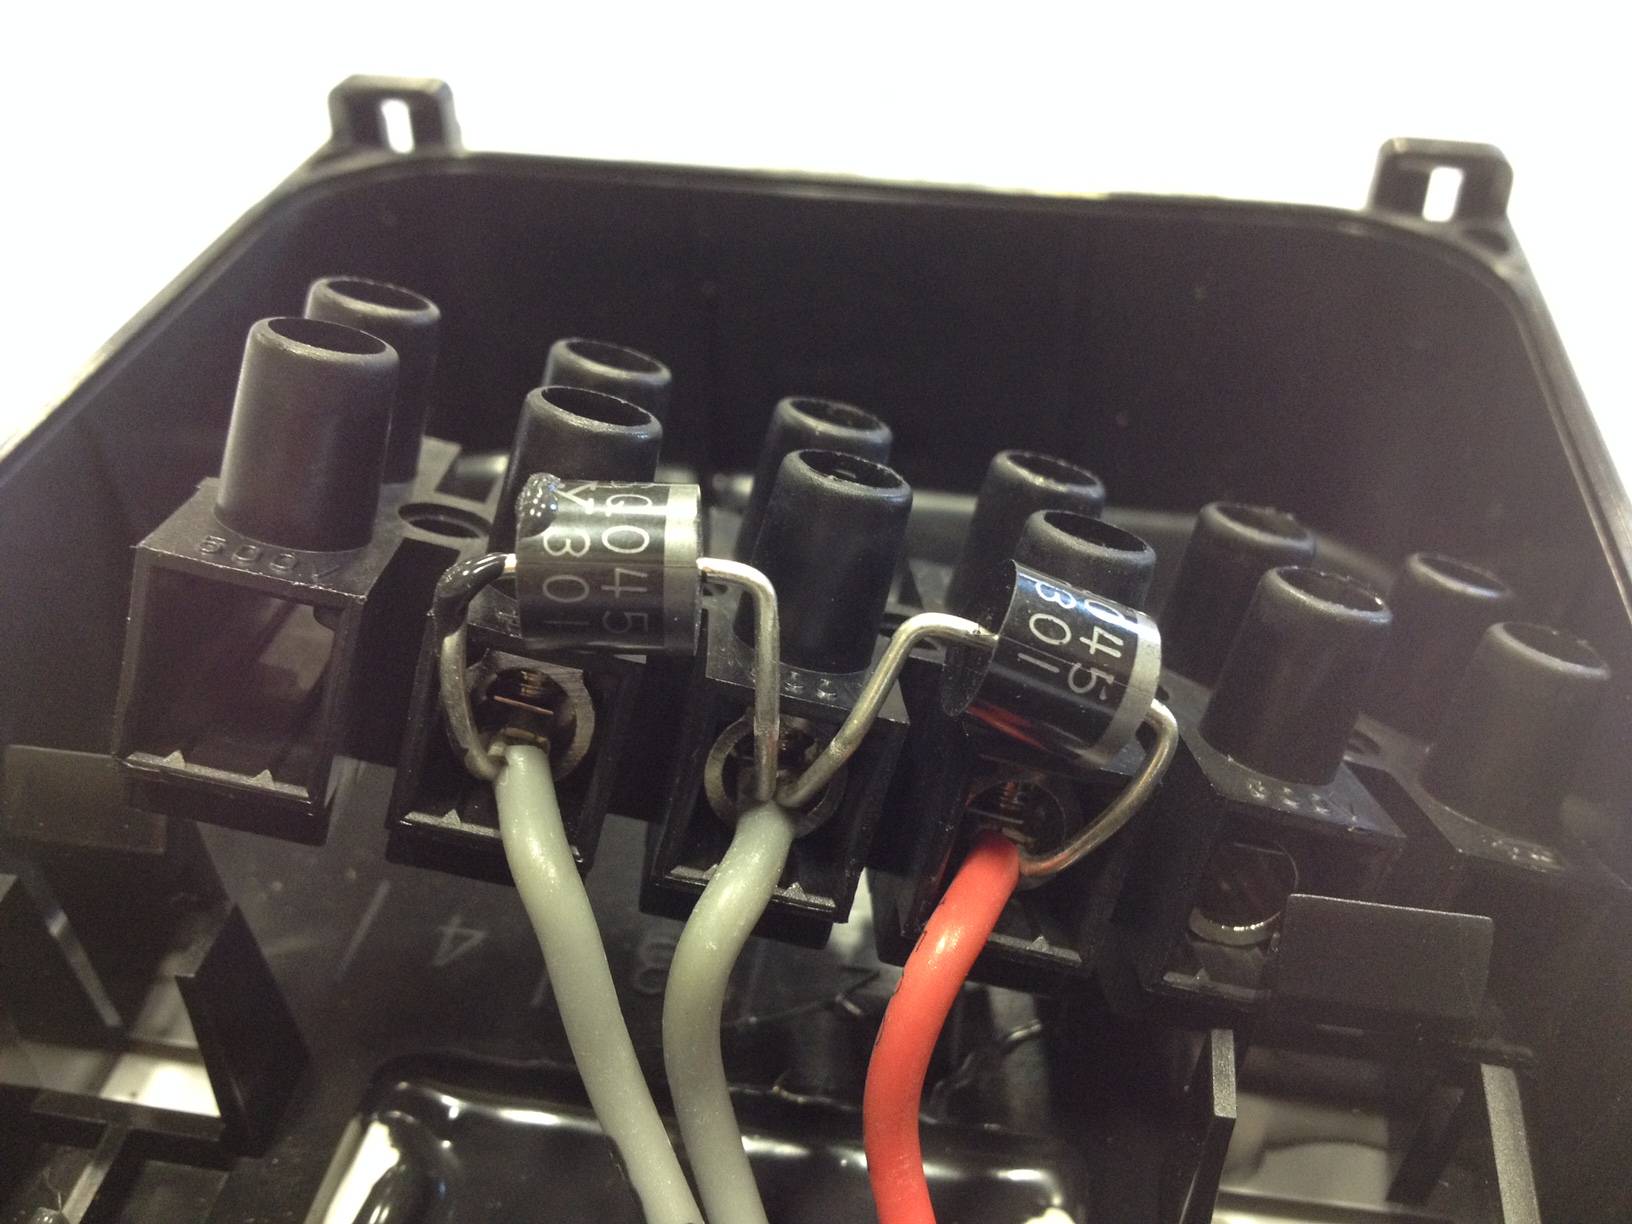
Testing Voc at Module
Failed Bypass Diode
 Sign: A voltage number that is half the expected value.
Cause: Incorrect diode orientation, diode damage, or diode failure is most likely. Also check any wiring, if present, to make sure it’s actually the diodes that are the issue.
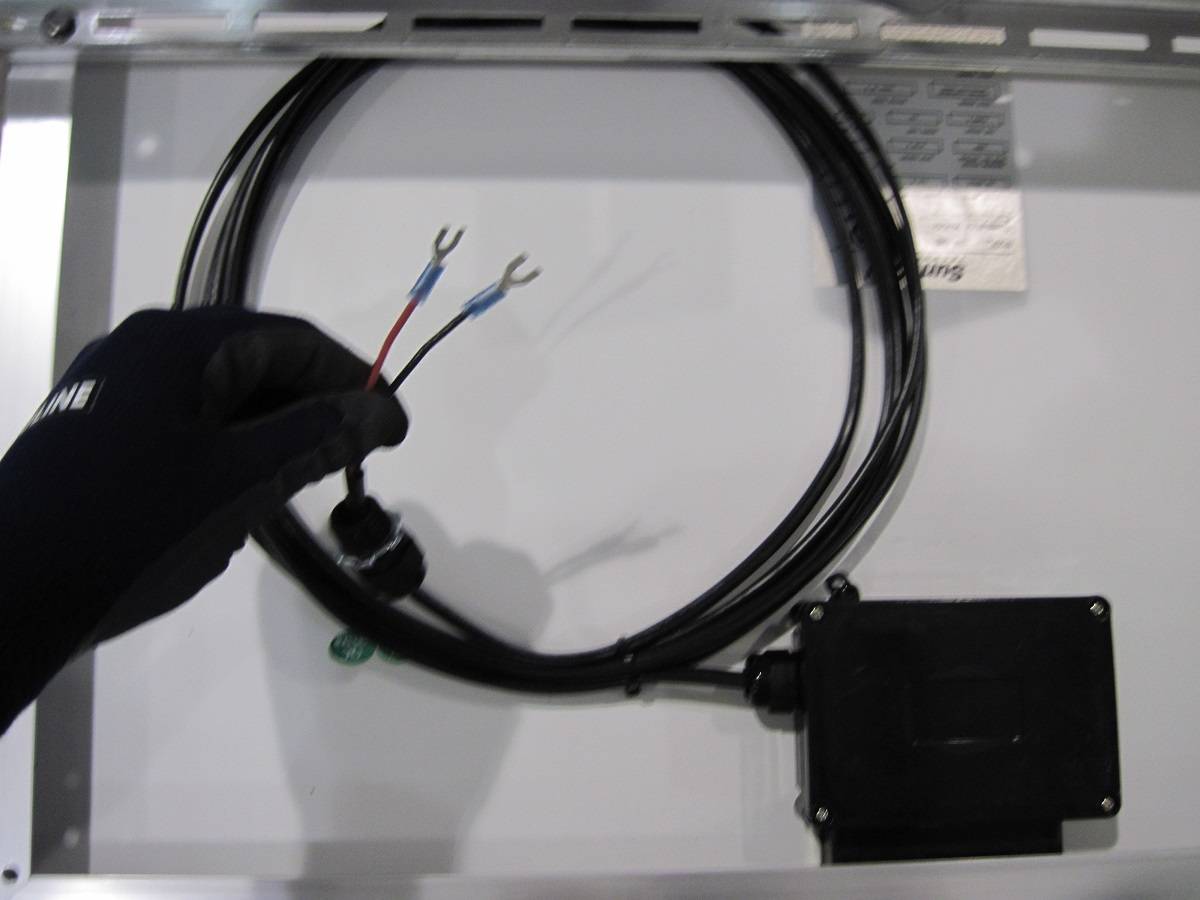
Solution: Confirm diode orientation or replace diode in module. If accessible, you will need to remove the Junction Box cover on the back of the solar module.
Incorrect/Loose Wiring
Sign: A voltage number that is lower than the expected value.
Cause: Check any wiring, if present, to make sure there are no wiring mistakes or bad connections. Tighten all screws and gently pull wires to make sure they’re secured. Check for corrosion on wires if in a humid environment.
Solution: Fix wiring mistake or loose/bad connection issues. Confirm connection to the correct terminals in the module junction box (confirm with voltmeter).
Failed Module
 Sign: A voltage number that is lower than the expected value.
Cause: Check any wiring, if present, to make sure there are no wiring mistakes or bad connections. Tighten all screws and gently pull wires to make sure they’re secured. Check for corrosion on wires if in a humid environment. If all of this is ruled out, then the module may be failing.
Solution: Fix wiring mistake or loose/bad connection issues. If you are still experiencing a lower voltage number than expected, you may need to replace the solar module by contacting the module manufacturer.
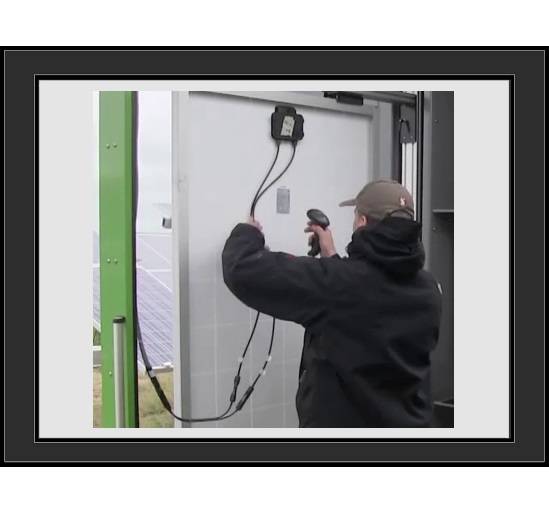
Short-Circuit Current (Isc) Test
Caution: when performing the Isc test confirm the maximum current being measured is less than maximum meter rating. An arc is very common when breaking the connection, therefor it should be done quickly.
Although the Voc Test is a good troubleshooting technique to detect many common array and module issues, the Isc Test can be used to find additional problems.
 The Isc Test should be done on the module or string level, as the currents should be kept to 10A or less.
The test should be done on a sunny day, and the measured value should be linear with the sunlight conditions available. An insolation or solar radiation meter can be very helpful in determining the sunlight conditions.
To perform the test using an inline ammeter, place the positive lead on the positive module terminal and the negative lead on the module negative terminal.
The measured value should be within 20% of the module rating adjusted for sunlight conditions. E.g. on a partly sunny day if the sunlight conditions are about half, then the Isc current will be about half.
No Current
Sign: No current is measured.
Cause: Open circuit in the wiring, a bad or loose connection, incorrect wiring, or an internal problem with the solar module. It’s possible the connection point is sufficient enough for full voltage reading, but limited current.
Solution: Fix wiring mistake or loose/bad connection issues.
Less Than Expected Current
Sign: Measured Short-Circuit Current (Isc) value is less than expected.
Cause: Solar modules degrade by approximately 1% per year; however, if the measured current is less than 20% of the expected value after adjusting for sunlight conditions then the module maybe failing.
Solution: Determine whether current loss is appropriate with age of module. If it’s not, then the module may be prematurely failing. Consult power performance warranty from module manufacture.
Conclusion
A couple of simple measurements are a great way to quickly troubleshoot and isolate possible problems in a solar array.